Server Solutions
All your needs from a single point - server solutions
Dedicated server rental with fully dedicated resources, also known as Dedicated Server or Bare Metal Server
Virtual Servers (SSD VDS)Scalable, high-availability server rental services with high-performance cloud server solutions.
İlkbyte Cloud
Fully developed by Netinternet, scalable and secure cloud server platform deployable in seconds
GPU-Based AI InfrastructureHigh-performance GPU-based server solutions created on a project basis for your AI and machine learning projects
Server & Hardware ProcurementEnd-to-end procurement and configuration services for servers, network equipment and infrastructure components
Customized Infrastructure SolutionsSecure and scalable infrastructure solutions architectured according to needs for enterprise projects
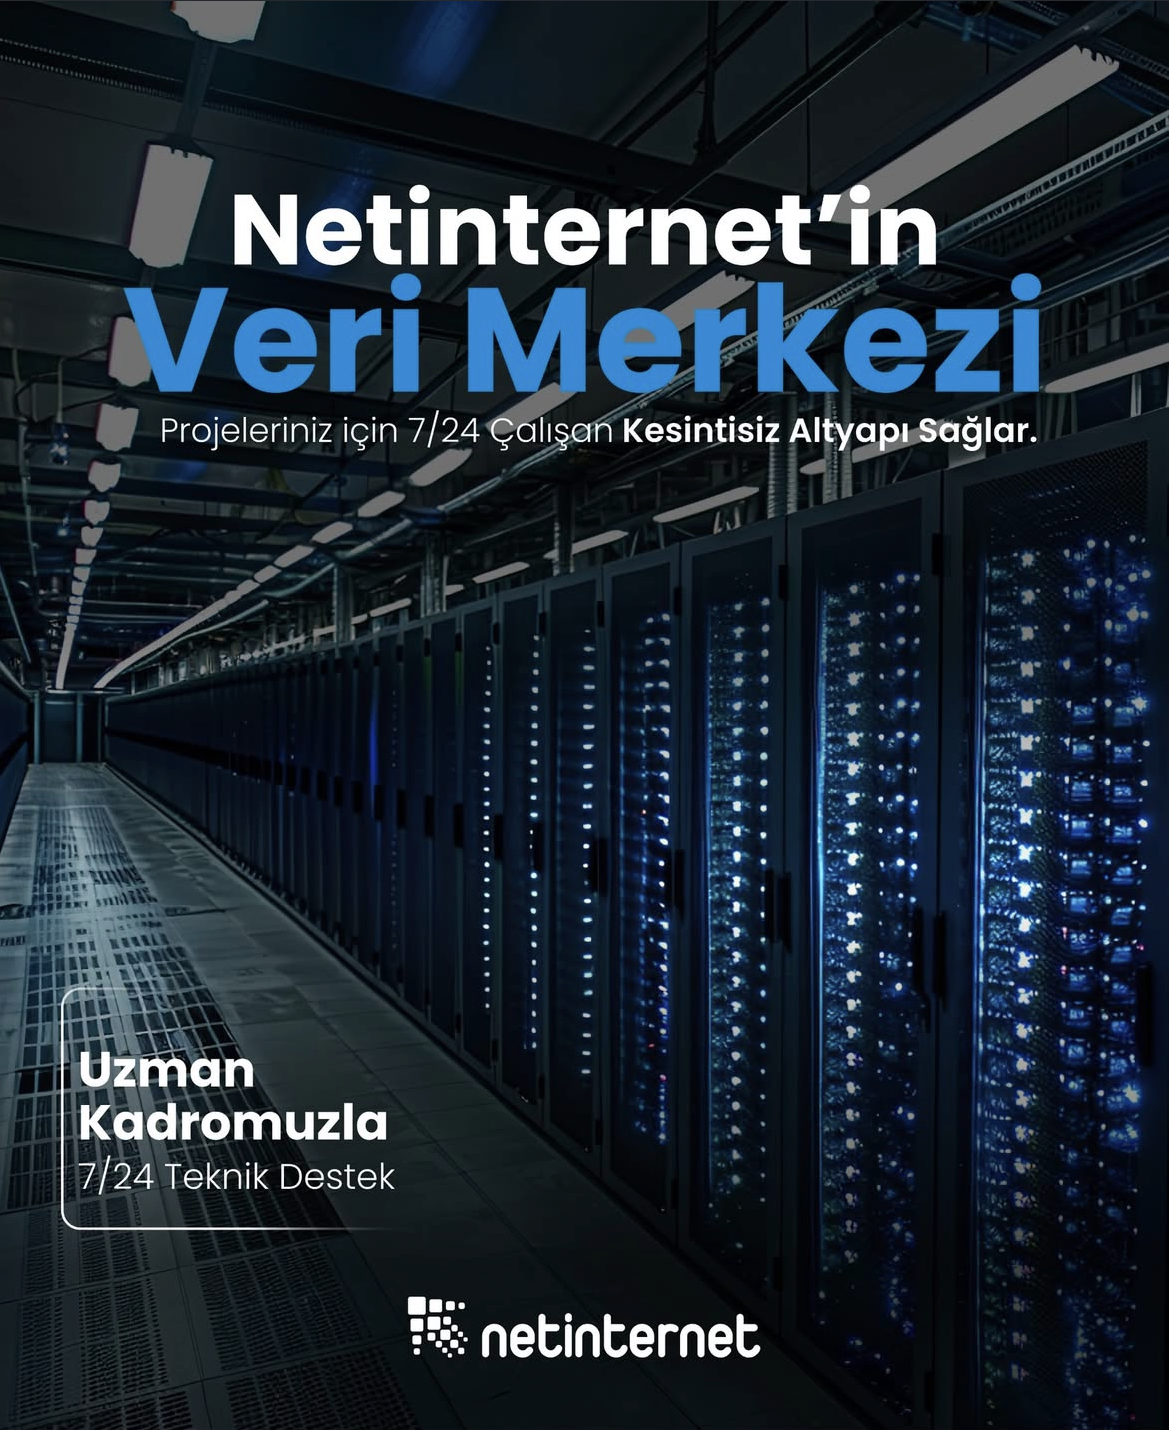
Smart cabinet systems with per-kWh billing, equipped with dedicated power analyzers and sensors
Server Colocation (Co-location)Affordable per-kWh billing server hosting service on shared cabinets
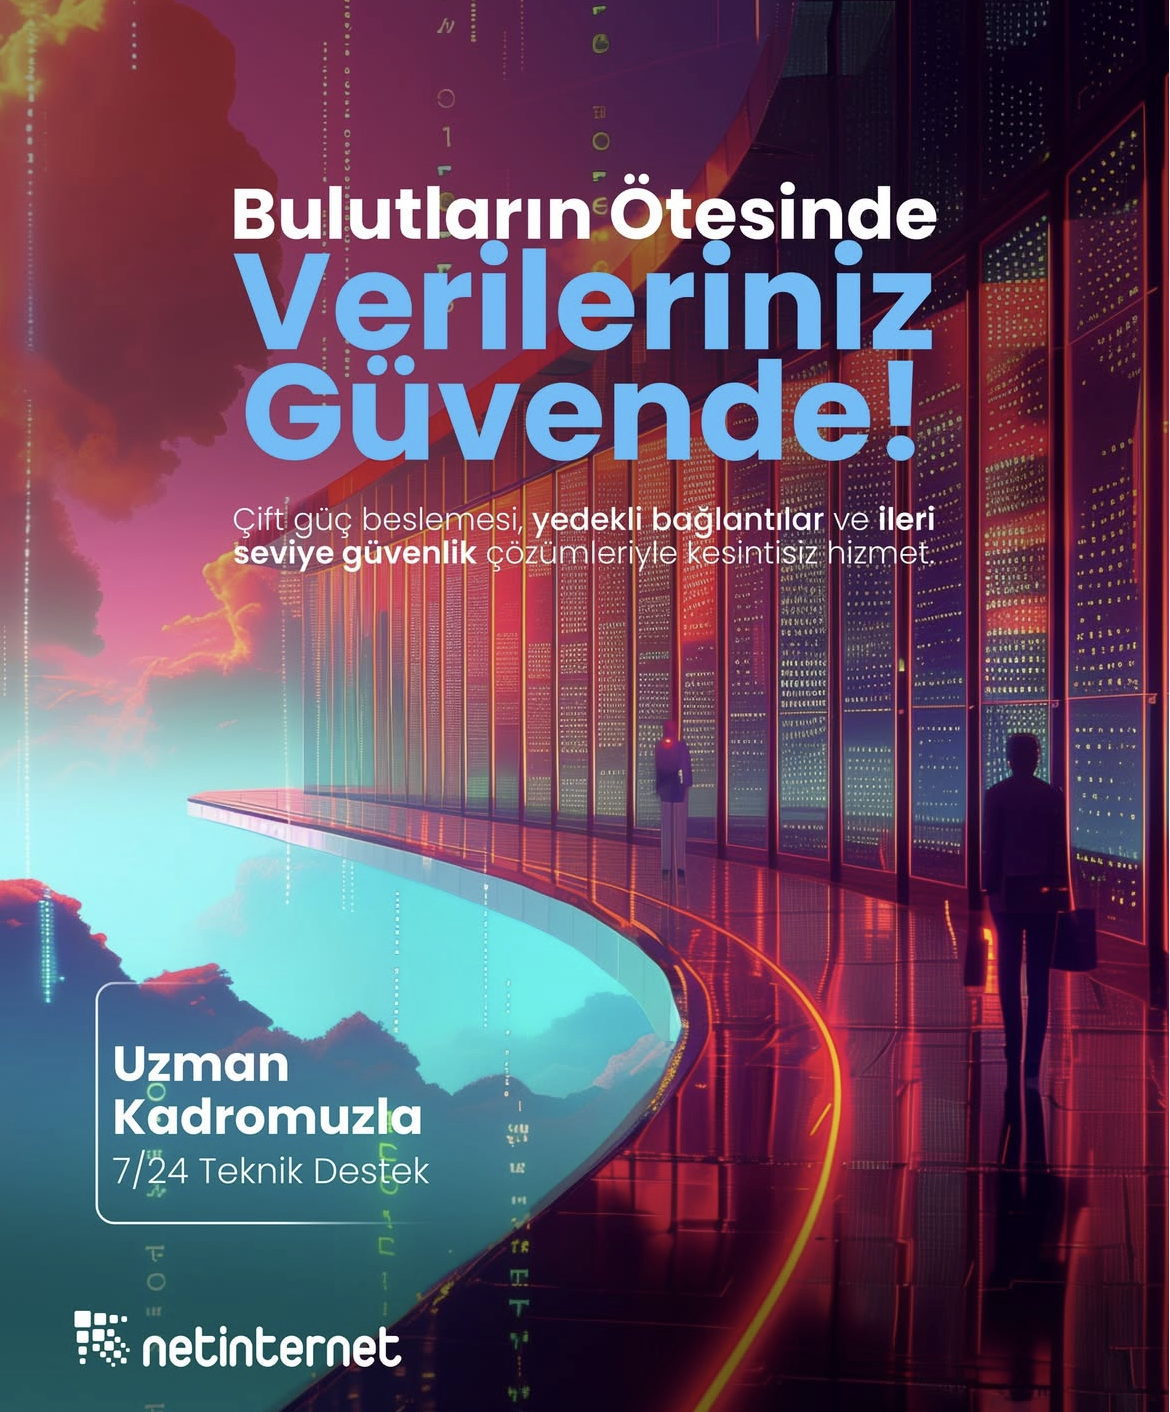
Premium ConnectivityHigh-quality, high-capacity connectivity with redundant multi-carrier, multi-IXP and high-capacity volumetric Anti-DDoS protection
Telecom Data Center CircuitAffordable and high-capacity internet access through Turk Telekom MPLS network via dedicated data center access circuit
Cross-ConnectCross-connect services offering direct connection between network carriers inside and outside Netinternet data center
IP Address PricingIPv4, IPv6 address rental, ASN rental and RIPE LIR admin management services with affordable pricing and announcement management automation
Installation, configuration, regular maintenance, updates and 24/7 monitoring of your server operating system
Managed InfrastructureEnd-to-end management of your entire IT infrastructure including data center, storage, virtualization and backup
Managed NetworkProfessional management and monitoring of network devices (router, switch, firewall) configuration, optimization and performance
Managed Cloud (Public / Private)Design, management and optimization of your public and private cloud infrastructures to meet your cloud needs
Managed Security24/7 monitoring, analysis and instant response services for your enterprise against cyber security threats, SOC/SIEM applications
Managed Backup & Disaster RecoveryBackup and disaster recovery plans, implementation, operation to ensure your data security and business continuity
Fully domestic, KVKK compliant, 100% compatible with Outlook and all mail programs, professional, uninterrupted email service
Bulk Email Sending
Manageable bulk email sending services with high delivery rates for your marketing campaigns
Email Archiving
Secure archiving of all your email traffic to protect corporate memory and comply with legal requirements
Free Email Migration ServiceWherever your email service is, we migrate you to Netinternet corporate email solution for free!
Fast and reliable hosting packages with easy setup and management using cPanel, the worlds most popular hosting management panel
cPanel Reseller HostingFully customizable cPanel-based reseller hosting solution for starting your own hosting business.
DirectAdmin Reseller HostingScalable and cost-effective reseller hosting powered by lightweight DirectAdmin control panel.
Free Hosting Migration ServiceProfessional migration services to move your existing systems to Netinternet data center infrastructure
Fully developed by Netinternet, protect against cyber attacks with our Web Application Firewall solution
AntiDDoSHigh-capacity volumetric Anti-DDoS protection provided free by default on all our services
VPN SolutionsSecure, encrypted tunnel connections for your remote offices and employees with our managed VPN solutions
Layer4 Stateless FirewallLayer4 stateless firewall solution for filtering and directing incoming traffic
SSL CertificatesSecure connection solutions with free and paid SSL/TLS certificate options.
Penetration TestsPenetration tests performed by third parties in cooperation with TSE-approved testing firms
Domain registration and easy management at the most affordable prices in all popular extensions (.com, .net, .org, etc.)
Domain Transfer ServicesTransfer your domains to Netinternet for professional domain management services
Domain ResellerFlexible and reliable reseller program and integration services for offering domain registration to your customers
Free Hosting with Domain
Free hosting service for domains registered or transferred to Netinternet
Flexible and manageable license solutions with monthly rental model for cPanel, the most widely used control panel for Linux servers
Plesk LicensesLicense options for Plesk control panel compatible with Windows and Linux, suitable for different user and domain needs
DirectAdmin LicensesAffordable and long-term license rental solutions for DirectAdmin, known for its lightweight and resource-friendly structure
LiteSpeed LicensesAchieve speed, stability and resource efficiency for your web applications with LiteSpeed high-performance web server
CloudLinux LicensesCreate secure and balanced per-user systems with CloudLinux offering resource isolation and stability on shared servers
Microsoft LicensesMonthly, legal and flexible licensing options under SPLA for Windows Server, SQL Server and other enterprise Microsoft products